
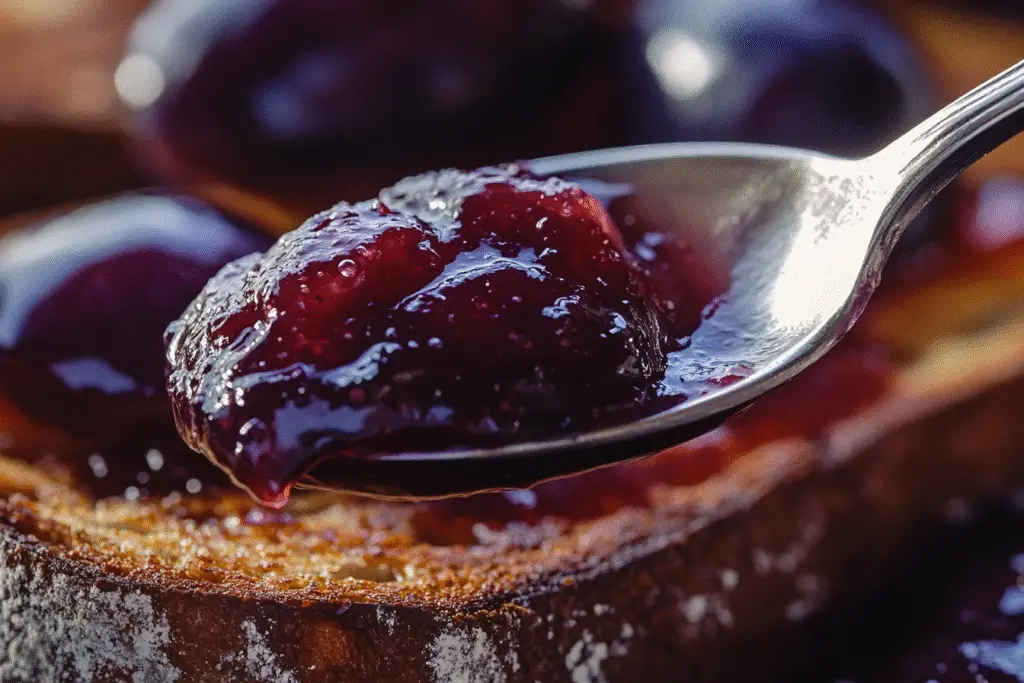
Few things capture the essence of late summer like a jar of homemade plum jam. Vibrant in color, balanced in flavor, and wonderfully versatile, this plum jam recipe celebrates everything that makes stone fruit season so irresistible. Whether you’re spreading it on toast, swirling it into yogurt, spooning it over pancakes, or gifting it in small jars, plum jam is one of those simple joys that tastes like pure summer in every spoonful.
This recipe doesn’t rely on commercial pectin, instead using the natural pectin in plums and lemon juice to thicken the jam as it cooks. The result is a preserve with a smooth, spoonable texture, rich ruby color, and a deep plum flavor that’s sweet, tart, and just a little bit floral.
Whether you’re a beginner or a seasoned jam maker, this step-by-step guide will help you make a batch of plum jam that’s both delicious and pantry-friendly. You’ll learn about choosing the right plums, how to balance sweetness and acidity, safety tips for preserving, and how to troubleshoot common issues like over-thickening or under-setting.
Why Make Plum Jam at Home?
While store-bought jams are convenient, homemade plum jam offers fresher flavor, better texture, and total control over the ingredients. It’s also surprisingly simple to make—just fruit, sugar, lemon juice, and a bit of time on the stove.
Homemade plum jam:
- Contains no artificial preservatives or stabilizers
- Has a brighter, more complex flavor
- Can be customized with spices, herbs, or reduced sugar
- Makes a thoughtful homemade gift
- Stores beautifully for months
Plus, plums are naturally high in pectin, which means your jam will gel nicely without the need for added pectin.
Types of Plums to Use
There are many varieties of plums, and each brings a slightly different flavor and color to your jam.
Best Plums for Jam:
- Black plums (freestone or clingstone): Deep purple skin, red or yellow flesh, tangy and vibrant.
- Red plums: Sweet-tart and juicy, ideal for a balance of flavor.
- Damson plums: High in pectin, intensely flavored, excellent for more traditional or spiced jams.
- Yellow plums (Mirabelle): Sweeter and more delicate; may need more acidity added.
Whichever variety you choose, make sure your plums are ripe but not overripe. Slightly firm fruit yields the best flavor and set.
Should You Peel the Plums?
No peeling necessary. Plum skins soften and dissolve as the jam cooks, adding beautiful color and subtle bitterness that balances the sweetness.
However, if you prefer a smoother texture, you can blend the jam after cooking or run it through a food mill.
Equipment You’ll Need
For basic small-batch jam making (no canning), here’s what you need:
- Large, wide saucepan or jam pot
- Wooden spoon or heatproof spatula
- Digital thermometer (optional but helpful)
- Potato masher or immersion blender (optional)
- Clean jars with lids
- Funnel and ladle (for easy filling)
For shelf-stable jam (canning), you’ll also need:
- Canning pot with rack
- Tongs and jar lifter
- Sterilized jars and lids
- Canning funnel and headspace measurer
Ingredients
- 2 pounds fresh plums (about 10–12 medium), pitted and chopped
- 1½ cups granulated sugar (adjust to taste)
- 2 tablespoons fresh lemon juice
- Optional: ½ teaspoon ground cinnamon or 1 vanilla bean
Yield: About 2½ to 3 cups of jam, or three 8-oz jars.
Step-by-Step Instructions
Step 1: Prepare the Plums
Wash the plums well, then cut them in half and remove the pits. Chop into small chunks (no need to peel).
Place in a large saucepan. Add sugar and lemon juice, and stir to combine. Let sit for 10–15 minutes to begin drawing out juices.
Optional: add cinnamon, star anise, or a split vanilla bean for extra flavor.
Step 2: Cook the Jam
Set the pan over medium heat and bring the mixture to a simmer, stirring often.
Once the fruit begins to break down and release more liquid, reduce the heat slightly and continue to cook, stirring frequently to prevent sticking.
Simmer for 25–35 minutes, until the jam thickens and reaches about 220°F (105°C) on a candy thermometer (the setting point).
Tip: Use the “wrinkle test” by placing a spoonful on a chilled plate—if it wrinkles when pushed, it’s ready.
Step 3: Adjust Texture (Optional)
For a chunky jam, lightly mash the fruit with a potato masher and leave as-is.
For smoother jam, blend with an immersion blender or transfer to a food processor and pulse carefully.
Remove any whole spices or the vanilla bean if used.
Step 4: Store or Can the Jam
Option 1: Refrigerator/Freezer Jam
Let the jam cool slightly, then spoon into clean jars. Seal tightly and let cool at room temp.
Refrigerate for up to 3 weeks or freeze for up to 6 months.
Option 2: Water Bath Canning
If you want shelf-stable jam:
- Sterilize your jars and lids in boiling water.
- Fill hot jars with hot jam, leaving ¼ inch headspace.
- Wipe rims clean, seal with lids, and process in a boiling water bath for 10 minutes.
- Remove and cool completely. Check that lids have sealed (no flex when pressed).
- Store in a cool, dark place for up to 1 year.
Flavor Variations
Customize your plum jam with these add-ins:
- Spiced plum jam: Add cinnamon, clove, star anise, or ginger.
- Vanilla plum jam: Stir in vanilla bean paste or a scraped vanilla pod.
- Plum and red wine: Replace some of the lemon juice with a splash of red wine or port.
- Plum and rosemary: Add a small sprig of rosemary during cooking; remove before jarring.
These small additions can turn a simple preserve into something gourmet.
Troubleshooting and Tips
- Jam not setting? Reheat and simmer longer, or add a tablespoon of lemon juice.
- Too thick? Stir in a bit of hot water or unsweetened juice to loosen.
- Too sweet? Reduce sugar next time or add more lemon juice.
- Foaming on top? Skim with a spoon during cooking or stir in a knob of butter to reduce foam.
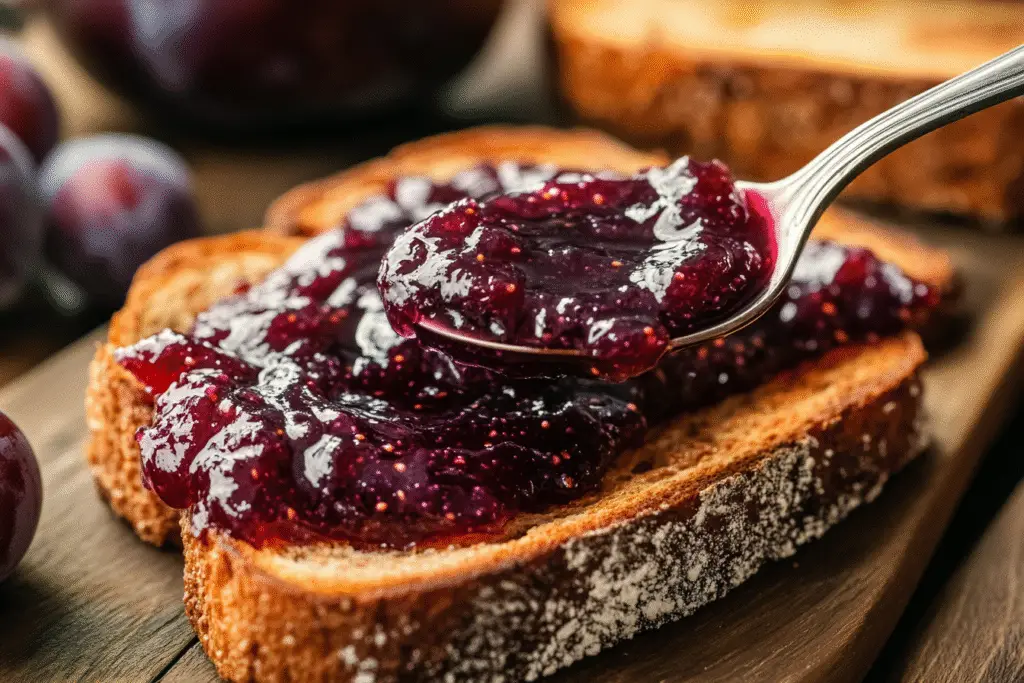
How to Use Plum Jam
Plum jam is as versatile as it is delicious. Try it:
- On buttered toast or English muffins
- Swirled into yogurt or oatmeal
- As a filling for thumbprint cookies or linzer tarts
- Paired with soft cheeses like brie or goat cheese
- Glazed over grilled meats or roasted vegetables
- Spooned over ice cream or pancakes
It also makes a beautiful homemade gift—just tie a ribbon around the jar and include a handwritten label.
Storage and Shelf Life
- Refrigerated jam: Up to 3 weeks
- Frozen jam: Up to 6 months (leave room in jars for expansion)
- Canned jam: Up to 1 year in a cool, dark place
Once opened, always store jam in the refrigerator and use clean utensils to avoid contamination.
Plum Jam vs. Plum Jelly vs. Plum Butter
- Plum jam: Made with the whole fruit (including skins), chunky or smooth.
- Plum jelly: Made with only the juice, strained for a clear, smooth consistency.
- Plum butter: Cooked longer and lower until thick and spreadable, often less sweet.
This classic plum jam strikes a perfect middle ground: flavorful, balanced, easy to make, and endlessly useful. Whether it’s your first time preserving or you’re restocking the pantry, this recipe is a reliable favorite that celebrates the beautiful, tangy-sweet essence of plums.