
Why Sunny Side Up Eggs Are a Staple Worth Mastering
Sunny side up eggs may be one of the simplest dishes in the kitchen, but cooking them perfectly is a subtle art. When done right, they’re everything you want on a breakfast plate: vibrant, runny yolks that gleam like sunshine, surrounded by set-but-tender whites with just a touch of crispy edge. Whether you’re pairing them with toast, tucking them into avocado toast, sliding them onto a burger, or topping rice bowls and noodles, the sunny side up egg is a visual and flavorful power move.
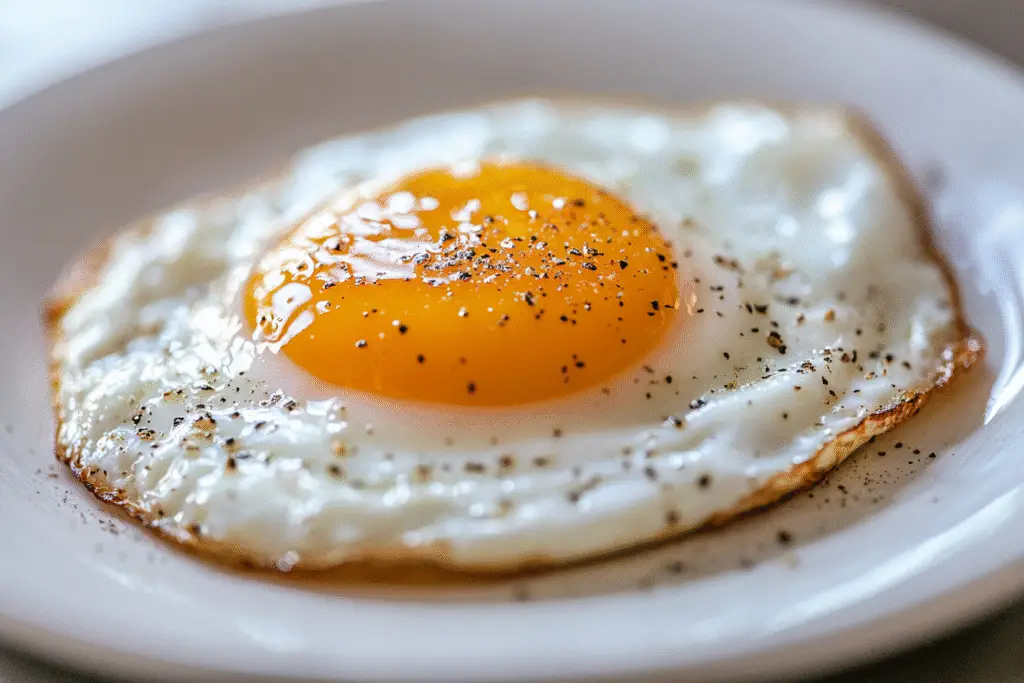
But despite how straightforward they seem, sunny side up eggs are often cooked too hot, too fast, or flipped too soon. A perfect sunny side up egg should be gently cooked, yolk exposed and undisturbed, with fully set whites and a yolk that’s warm and silky—but not cooked through. This recipe breaks down every detail you need to get it just right, every single time.
What Makes a Sunny Side Up Egg “Perfect”?
Let’s be clear: a perfect sunny side up egg has four non-negotiables:
- Fully set whites – No jiggly, raw patches around the yolk or edges.
- Golden, runny yolk – Still glossy, warm, and slightly thickened.
- No browning on the whites – Unless you prefer crispy edges, the whites should be soft and pale.
- No broken yolks – Handle with care from crack to pan.
To get there, it’s all about low heat, patience, and the right pan.
Choosing the Right Eggs for Sunny Side Up Success
The fresher the egg, the better the structure—and the better your final result. Here’s what to look for:
Egg Freshness
- Fresh eggs have thicker whites and a yolk that stands tall, which means less spreading and more control in the pan.
- To test an egg’s freshness, place it in a bowl of water. If it sinks and lays flat, it’s fresh. If it floats, toss it.
Egg Size
- Large eggs are standard and work best for this technique. You can use medium or extra-large eggs, but cooking time may need slight adjustment.
Shell Color
- Brown or white doesn’t affect flavor—choose based on preference or quality of source (pasture-raised eggs often have richer yolks).
Equipment: A Good Pan Is Everything
The key to a sunny side up egg that slides cleanly onto your plate is the pan. Here’s what you’ll need:
- Nonstick skillet (8–10 inch): Ensures easy release and even cooking.
- Small offset spatula or silicone turner: Helps lift and check the egg whites gently.
- Lid (optional): Traps steam if you want more evenly cooked tops without flipping.
- Small bowl (optional): Crack the egg into a bowl first to avoid broken yolks and shell pieces.
- Rubber spatula or spoon: Optional for basting if using oil or butter.
Fat Choices: Oil vs. Butter
You don’t need much fat, but a little goes a long way. Choose based on your flavor preference:
- Butter: Adds richness and a bit of nuttiness. Great for breakfast plates.
- Olive oil: Gives a slightly peppery flavor and works well in savory dishes.
- Neutral oil (canola, avocado, grapeseed): Clean flavor and high smoke point.
- Ghee: A clarified butter that gives a nutty flavor without the burn.
Use about 1 teaspoon of fat per egg.
Cooking Technique: Low and Slow Wins
The biggest mistake people make with sunny side up eggs? High heat. Cooking low and slow is the secret to fully set whites and a runny yolk that doesn’t get chalky.
Here’s a step-by-step breakdown:
Ingredients
- 1–2 large eggs
- 1 teaspoon unsalted butter or oil (per egg)
- Pinch of salt
- Freshly ground black pepper (optional)
Instructions
Step 1: Preheat the Pan
- Place a nonstick skillet over low heat. Let it warm for 1–2 minutes.
- Add butter or oil and let it melt/spread evenly across the pan. Do not let it brown.
Step 2: Crack the Egg
- Crack your egg into a small bowl for best control.
- Gently slide the egg into the pan, keeping the yolk intact.
Step 3: Cook Gently
- Cook undisturbed over low heat. You should hear a very faint sizzle—if it crackles loudly, reduce heat.
- Let the egg cook for 2–3 minutes, until the whites begin to set.
- Tilt the pan slightly to redistribute fat over the whites if needed.
- If the whites are still jiggly but the yolk is setting too fast, cover the pan loosely with a lid for the final 1–2 minutes. This traps steam and gently cooks the top.
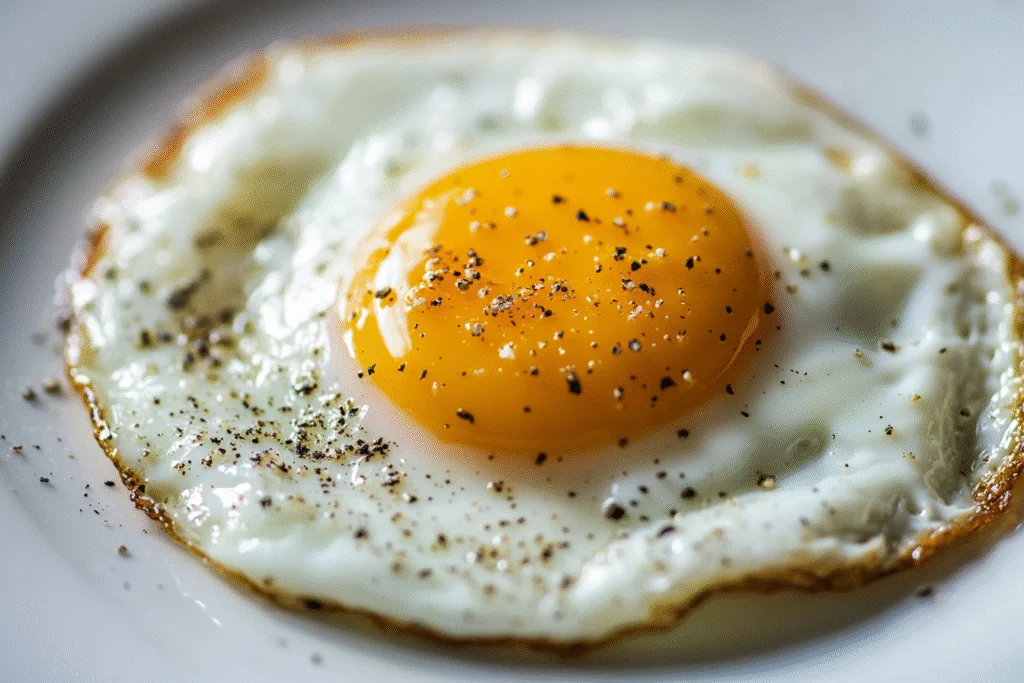
Step 4: Check for Doneness
- The whites should be opaque and fully set—no gooey spots around the edges or under the yolk.
- The yolk should still be glossy and slightly wobbly but warm to the touch.
Step 5: Plate and Season
- Use a spatula to gently lift and transfer the egg to a plate.
- Season with a pinch of salt and freshly cracked pepper.
Optional: Add a sprinkle of flaky salt, red pepper flakes, za’atar, or chives for extra flavor.
FAQs and Troubleshooting
Q: My whites are overcooked but the yolk is still raw. What went wrong?
You likely cooked it on heat that was too high. Stick to low or medium-low and be patient. Use a lid to gently steam the top if needed.
Q: The yolk broke when I cracked the egg. Help!
Crack into a bowl first, not directly into the pan. This also lets you catch any shell fragments.
Q: Can I make multiple eggs at once?
Yes, but make sure they have room in the pan and that your skillet is large enough. You may want to crack each into a separate bowl first.
Q: How do I get crispy edges?
Use a bit more oil and slightly higher heat (medium) once the whites begin to set. Don’t use a lid—this allows the edges to fry slightly.
Flavor Variations and Serving Ideas
Once you master the basic sunny side up egg, you can adapt it to countless meals. Here are some ideas:
Breakfast Classics
- On toast with avocado, hot sauce, and microgreens
- Alongside bacon, sausage, and hash browns
- Over grits or cheesy polenta
Lunch & Dinner Pairings
- Topped on a grain bowl with roasted vegetables
- On a burger or breakfast sandwich
- Over sautéed greens or a warm salad
- On ramen, soba, or kimchi fried rice
Add-on Seasonings
- Chili crisp
- Za’atar or dukkah
- Garlic salt or truffle salt
- Herbed yogurt or tahini drizzle
Make-Ahead and Storage Tips
While sunny side up eggs are best fresh, here are a few pointers if you’re cooking ahead:
- Short-term hold: You can keep cooked eggs warm in a 200°F oven for up to 10–15 minutes.
- Storing leftovers: Not ideal, but store in a sealed container for 1 day and reheat gently.
- Reheating: Use a nonstick pan over low heat and cover with a lid. Or microwave briefly (15–20 seconds) with caution—yolks can explode if overheated.
Mastering the sunny side up egg isn’t about fancy equipment or complicated technique—it’s about patience, precision, and a little care. Once you’ve nailed the timing and temperature, you’ll always have a quick, elegant, and deeply satisfying meal just one egg away.