
Why Baked Chocolate Donuts Belong in Your Baking Rotation
There’s something timeless about a chocolate donut. It’s familiar, indulgent, and universally beloved. But frying at home can be messy, intimidating, or just not your thing. That’s where baked chocolate donuts come in: all the deep cocoa richness and cake-like crumb of your favorite donut, minus the hot oil and hassle.
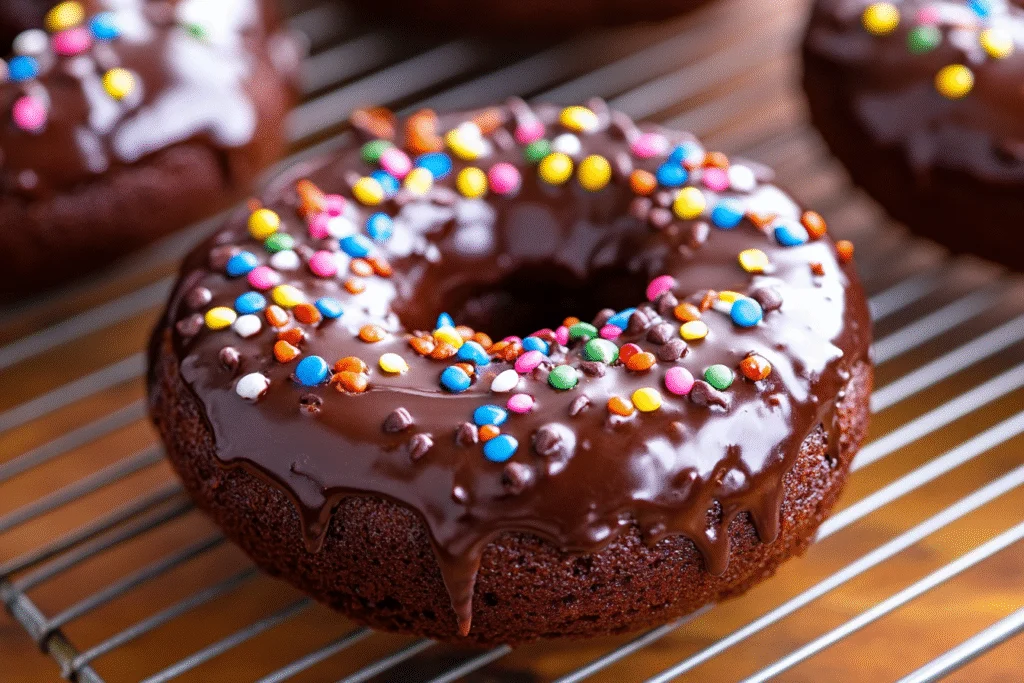
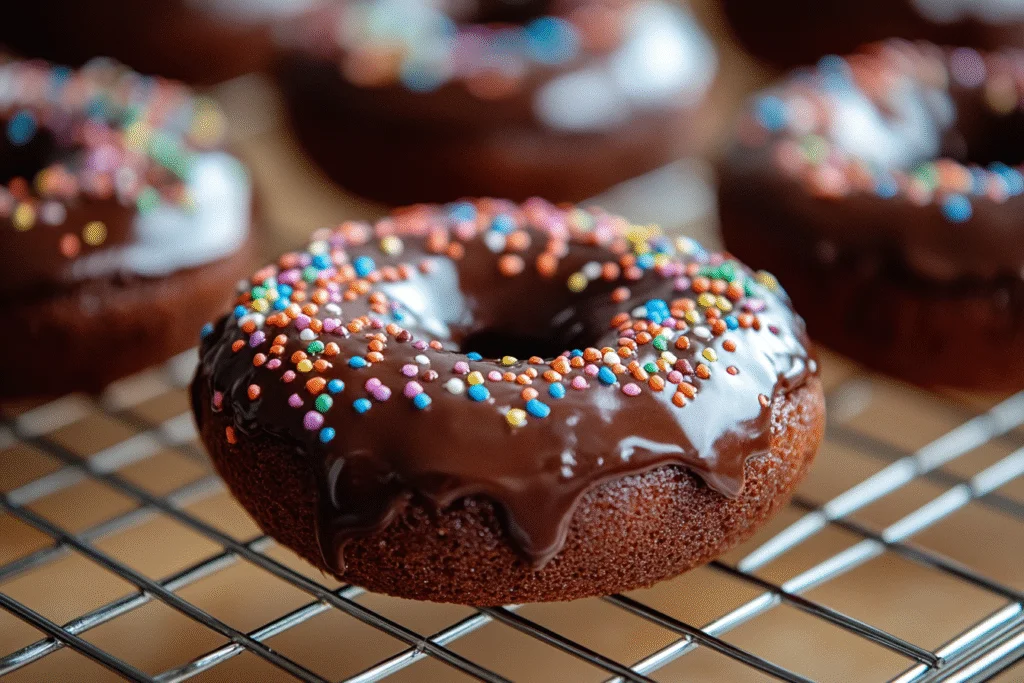
These baked chocolate donuts are moist, fluffy, and intensely chocolatey—thanks to a double dose of cocoa and chocolate glaze. They’re perfect for breakfast, dessert, or a snack in between. You can make them in under 30 minutes with just one bowl and a donut pan. Even better, they’re endlessly adaptable: dress them up with sprinkles, nuts, or flavored glazes, or keep them simple and classic.
They’re also great for sharing and gifting. Whether you’re baking for a weekend brunch, a bake sale, or just yourself (no shame), this recipe delivers bakery-quality results without leaving your kitchen.
Choosing the Right Ingredients for Moist, Chocolatey Donuts
Baked donuts walk a fine line between muffin and cake, so it’s important to strike the right balance of richness, moisture, and structure. Here’s how we do it:
Flour
- All-purpose flour is perfect here—strong enough to hold the donut’s shape but soft enough to keep the texture tender.
- For a lighter crumb, you can swap ¼ cup with cake flour.
Cocoa Powder
- Unsweetened cocoa powder (natural or Dutch-processed) provides the deep chocolate flavor. Dutch-processed yields a darker color and smoother taste, while natural cocoa gives more sharpness.
- Both work—use what you prefer or have on hand.
Sugar
- Granulated sugar keeps the crumb light and helps with browning.
- Want extra richness? Swap up to ¼ cup with brown sugar.
Baking Powder & Baking Soda
- The combo ensures the donuts rise quickly and stay soft without being too dense.
Egg
- Adds structure and binds the batter.
Sour Cream or Greek Yogurt
- A key player for moisture and tang. Use full-fat if you can.
- Can substitute with buttermilk or even thick plain yogurt.
Butter
- Melted unsalted butter adds richness without making the donuts greasy.
- You can use oil instead (like canola or avocado oil) for a slightly more tender crumb.
Vanilla Extract
- Deepens the chocolate flavor and balances the sweetness.
Optional Enhancers
- Espresso powder (½ tsp): Intensifies the chocolate without tasting like coffee.
- Chocolate chips: Add a few mini chips to the batter for chocolate-in-every-bite goodness.
Tools You’ll Need: Simple, Accessible Baking Gear
- Donut pan: A nonstick metal 6- or 12-cavity donut pan is ideal. Silicone pans work too, but the texture may be softer.
- Mixing bowls: One for dry ingredients, one for wet.
- Whisk and spatula: For smooth mixing.
- Piping bag or zip-top bag: Makes it easy to neatly fill the donut wells.
- Wire rack: For cooling and glazing.
You don’t need a stand mixer—this is a by-hand, low-effort bake that’s perfect for beginners or weekend bakers.
Troubleshooting Baked Donuts: Avoiding Dry or Flat Results
Because baked donuts aren’t fried, they need a little extra help to mimic that light, fluffy interior. Here’s how to avoid the most common pitfalls:
- Dry texture: Caused by overbaking or too much flour. Spoon and level your flour, and bake just until set.
- Flat or dense donuts: May be under-leavened or overmixed. Mix the batter just until no dry streaks remain.
- Sticking to the pan: Grease your donut pan thoroughly, even if it’s nonstick.
- Uneven shape: Use a piping bag to neatly fill each cavity about ¾ full—this ensures consistent baking and shape.
Flavor Variations and Glaze Ideas
The base donut is a chocolate lover’s dream—but you can easily change things up:
- Mocha glaze: Add espresso powder to the glaze.
- Mint chocolate: Add peppermint extract to the batter or glaze.
- Peanut butter glaze: Mix powdered sugar, milk, and peanut butter for a rich topping.
- Orange zest + chocolate: Stir in zest for a bright twist.
- Sprinkles or nuts: Press into the glaze while still wet for a fun finish.
You can also glaze with white chocolate or drizzle with caramel for a sweet contrast.
Make-Ahead and Storage Tips
These donuts are best fresh but keep well for a couple of days. Here’s how to store them:
- Room temperature: Store in an airtight container for up to 3 days.
- Refrigerator: Not necessary unless it’s very warm, but can extend shelf life to 5 days.
- Freezer: Freeze unglazed donuts for up to 2 months. Thaw and glaze before serving.
- Reheating: Warm in the microwave for 10–15 seconds for that fresh-from-the-oven feel.
Ingredients
For the Donuts:
- 1 cup (125g) all-purpose flour
- ½ cup (40g) unsweetened cocoa powder (natural or Dutch-processed)
- ½ cup (100g) granulated sugar
- 1 teaspoon baking powder
- ¼ teaspoon baking soda
- ¼ teaspoon salt
- 1 large egg
- ½ cup (120g) sour cream or full-fat Greek yogurt
- ¼ cup (60ml) milk
- ¼ cup (60g) unsalted butter, melted and slightly cooled
- 1 teaspoon vanilla extract
- Optional: ½ teaspoon espresso powder
For the Chocolate Glaze:
- ½ cup (85g) semi-sweet chocolate chips or chopped chocolate
- 2 tablespoons butter
- 2 tablespoons milk
- ½ cup (60g) powdered sugar
- ½ teaspoon vanilla extract
- Optional: Sprinkles, chopped nuts, sea salt
Instructions
Step 1: Preheat and Prepare the Pan
- Preheat your oven to 350°F (175°C).
- Grease a 6- or 12-cavity donut pan thoroughly with baking spray or butter.
Step 2: Mix Dry Ingredients
- In a large mixing bowl, whisk together the flour, cocoa powder, sugar, baking powder, baking soda, salt, and espresso powder (if using).
Step 3: Mix Wet Ingredients
- In a separate bowl, whisk the egg, sour cream, milk, melted butter, and vanilla extract until smooth.
Step 4: Combine the Batter
- Pour the wet ingredients into the dry ingredients.
- Mix gently with a spatula just until combined. Do not overmix—batter will be thick.
Step 5: Fill the Donut Pan
- Transfer the batter to a piping bag or a large zip-top bag with the corner snipped.
- Pipe batter into each donut cavity, filling each about ¾ full.
Step 6: Bake
- Bake for 10–12 minutes, or until the tops spring back when touched and a toothpick comes out clean.
- Let donuts cool in the pan for 5 minutes, then transfer to a wire rack to cool completely before glazing.
Make the Chocolate Glaze
- In a heatproof bowl, combine chocolate chips, butter, and milk.
- Microwave in 20-second intervals, stirring between each, until melted and smooth.
- Whisk in the powdered sugar and vanilla until glossy and thick but pourable.
- Dip cooled donuts into the glaze. Let excess drip off, then return to the rack.
Optional: Add sprinkles, sea salt, or chopped nuts before the glaze sets.
FAQs and Troubleshooting
Q: Can I make these gluten-free?
Yes—use a 1:1 gluten-free flour blend. The texture may vary slightly but they’ll still hold.
Q: My donuts are too dry—why?
They were likely overbaked. Pull them from the oven as soon as the tops are set and springy.
Q: Can I double the recipe?
Absolutely. Just double each ingredient and bake in batches.
Q: Can I use almond milk or plant-based dairy?
Yes, any unsweetened milk will work in both the batter and glaze.
Storage and Serving Tips
- To serve: These are best the day they’re made, slightly warm or fully cooled.
- To store: Keep in a sealed container at room temperature for up to 3 days.
- To freeze: Freeze the donuts (unglazed) in a single layer, then wrap. Glaze after thawing.
Soft, rich, and satisfyingly chocolatey, these baked chocolate donuts are the kind of dessert-breakfast hybrid that feels like a treat without the work of frying. Whether you keep them simple or deck them out, they’re a guaranteed hit for kids, adults, and chocolate lovers alike.