
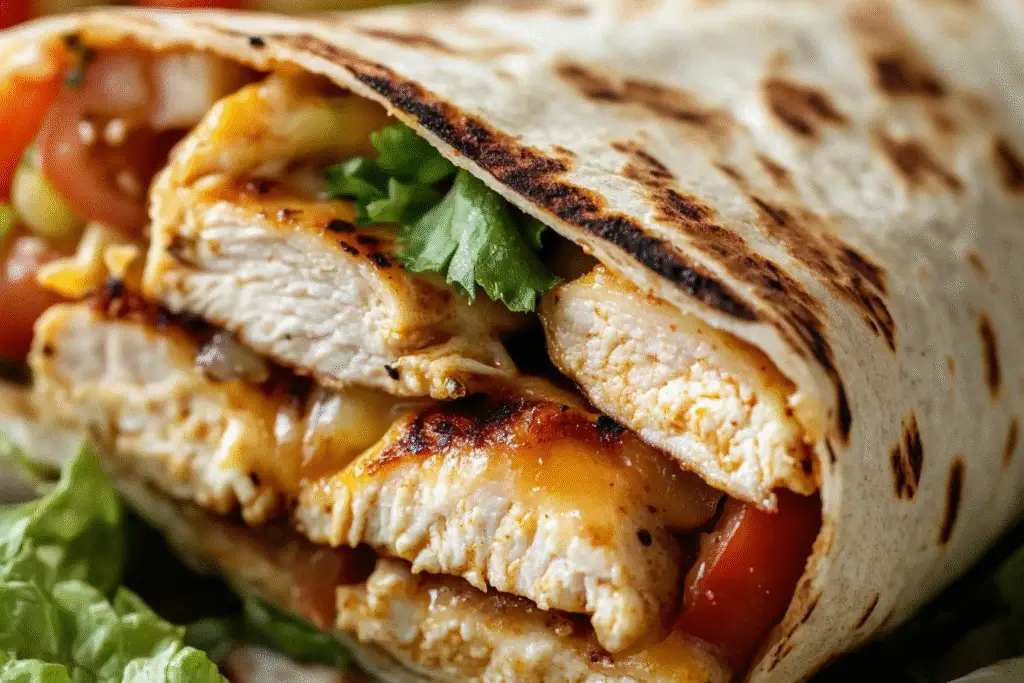
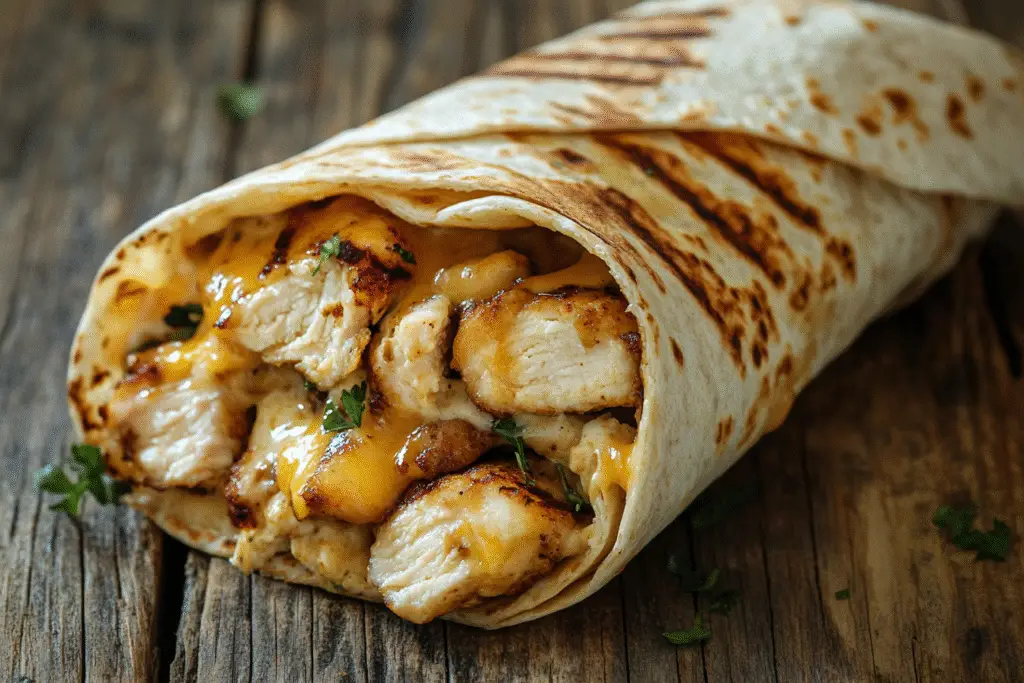
Cheesy Garlic Chicken Wraps are a perfect balance of comfort and convenience. Imagine tender, seasoned chicken, creamy melted cheese, and rich garlic butter all wrapped in a soft, golden tortilla. The flavors are bold but familiar, delivering the cozy satisfaction of garlic bread combined with the hearty appeal of a chicken wrap.
These wraps are quick to assemble, easy to customize, and can be served as a portable lunch, a fast weeknight dinner, or a game-day snack. Whether you prefer them grilled in a panini press or lightly toasted in a skillet, their melty, savory goodness is always a hit.
In this step-by-step guide, I’ll walk you through how to make perfect Cheesy Garlic Chicken Wraps, from ingredient selection to common troubleshooting tips, storage advice, and exciting variations to make this dish your own.
Why Cheesy Garlic Chicken Wraps Work: Melty, Savory, and Perfectly Balanced
The magic of this wrap is the marriage of creamy cheese, bold garlic flavor, and tender chicken.
Key Flavor Elements:
- Seasoned chicken: Grilled, roasted, or shredded for juicy, savory bites.
- Cheese: Melts beautifully to provide gooey comfort.
- Garlic butter: Adds richness and depth, transforming the wrap into a garlic bread-inspired treat.
- Soft tortilla: Holds everything together with the option to crisp it up for extra texture.
Each bite offers a warm, melty blend of cheesy, garlicky, and savory chicken goodness.
Choosing the Right Chicken: Flavorful and Juicy
Best Chicken Options:
- Grilled chicken breast or thighs: Classic for wraps, juicy and flavorful.
- Shredded rotisserie chicken: Quick and convenient.
- Crispy chicken tenders: Great for added texture.
Preparation Tip:
- Thinly slice or shred chicken for easier wrapping and even distribution.
Seasoning Suggestions:
- Salt, pepper, garlic powder, and Italian seasoning create a balanced flavor.
- Optional: Add smoked paprika or chili powder for a slight kick.
Selecting the Right Cheese: Melty and Flavorful
Best Cheese Options:
- Mozzarella: Melts beautifully with a mild flavor.
- Cheddar: Adds sharpness and creaminess.
- Provolone or Monterey Jack: Offer great meltability with subtle flavor.
Pro Tip:
Use freshly grated cheese for the best melt. Pre-shredded cheese contains anti-caking agents that can affect texture.
Building the Garlic Butter: Flavor-Boosting Essential
Garlic Butter Ingredients:
- Softened butter
- Freshly minced garlic (or garlic powder for milder flavor)
- Fresh parsley
- Optional: Parmesan for an extra savory note
Pro Tip: Brushing the garlic butter on the outside of the wrap gives it that irresistible garlic bread-like crunch.
Recommended Equipment
You’ll need:
- Skillet or panini press: For toasting the wraps.
- Mixing bowls: For combining chicken, cheese, and seasonings.
- Brush or spoon: For spreading garlic butter.
Optional: Grill pan for visible grill marks.
Common Mistakes and How to Avoid Them
1. Cheese Not Melting Properly
- Happens if heat is too high or wrap is cooked too quickly.
- Solution: Cook on medium heat and cover briefly to trap steam and melt cheese.
2. Wrap Tearing or Splitting
- Caused by overfilling or using dry tortillas.
- Solution: Warm tortillas slightly before wrapping and don’t overstuff.
3. Dry Chicken
- Occurs if chicken is overcooked or not properly seasoned.
- Solution: Use juicy cuts like thighs or add a little garlic butter to the filling to keep it moist.
4. Uneven Crisping
- Happens if the wrap isn’t pressed well or if garlic butter isn’t spread evenly.
- Solution: Press gently with a spatula and apply garlic butter evenly on the outside.
Preparation and Meal Planning Tips
Make-Ahead:
- Chicken and garlic butter can be prepped in advance.
- Wraps can be assembled and refrigerated (un-toasted) for up to 24 hours.
Meal Prep:
- Store components separately and assemble wraps fresh as needed throughout the week.
Serving Suggestions:
- Serve with a simple green salad, roasted vegetables, or dipping sauces like marinara, ranch, or garlic aioli.
Flavor Variations and Customizations
Sauce Options:
- Ranch, garlic aioli, marinara, or a creamy Parmesan sauce.
Protein Swaps:
- Grilled shrimp, turkey, or crispy tofu for a vegetarian twist.
Cheese Variations:
- Add Parmesan, Gouda, or Pepper Jack for different flavor profiles.
Add-Ons:
- Sautéed mushrooms, spinach, caramelized onions, or roasted red peppers.
Spice Adjustments:
- Add red pepper flakes or a splash of hot sauce for heat.
Ingredient List
For Each Wrap:
- 1 large flour tortilla (10–12 inches)
- 1 cup cooked chicken breast or thighs, sliced or shredded
- ½ cup shredded mozzarella or cheddar cheese
- 1 tablespoon softened butter
- 1 clove garlic, minced (or ½ teaspoon garlic powder)
- 1 tablespoon chopped fresh parsley
- Salt and pepper to taste
- Optional: Marinara or ranch for dipping
Step-By-Step Instructions
1. Make the Garlic Butter
In a small bowl, combine softened butter, minced garlic, parsley, and a pinch of salt.
Set aside.
2. Prepare the Chicken
Season cooked chicken with salt, pepper, garlic powder, and optional Italian seasoning.
Toss chicken with a tablespoon of garlic butter if desired for extra moisture.
3. Assemble the Wrap
Lay tortilla flat on a clean surface.
Layer cheese, seasoned chicken, and more cheese (cheese on both sides helps the wrap hold together when melted).
Fold in the sides and roll tightly.
Brush the outside of the wrap with garlic butter on both sides.
4. Toast the Wrap
Heat a skillet over medium heat.
Place the wrap seam-side down and cook for 2–3 minutes per side until golden brown and cheese is melted.
Press gently with a spatula to encourage even browning.
Optional: Use a panini press for a more uniform crisp.
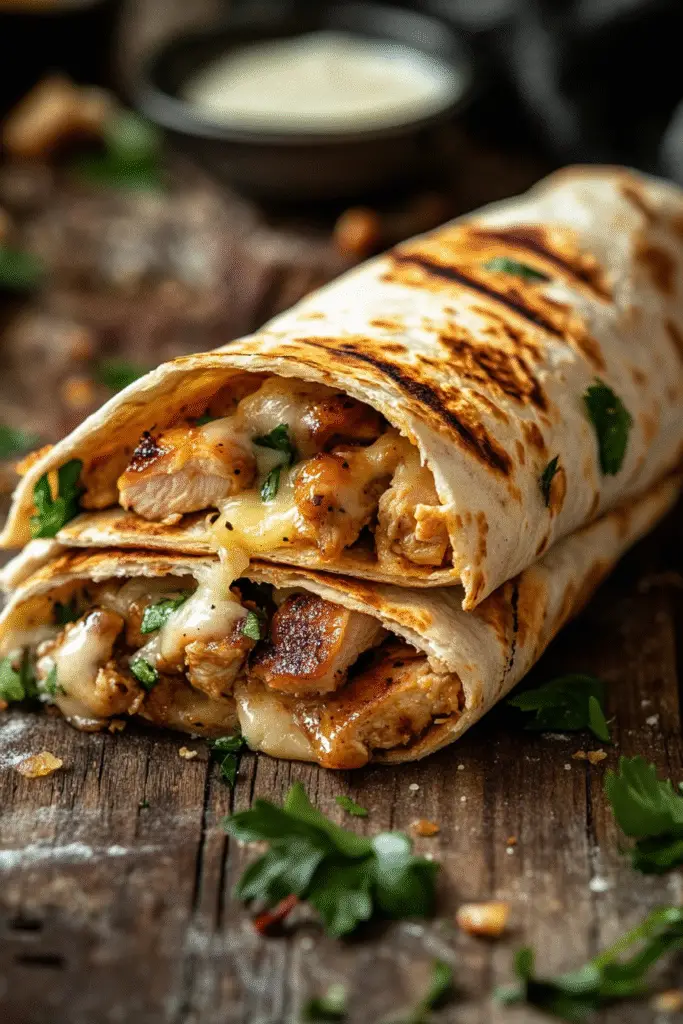
5. Serve
Slice in half and serve immediately with dipping sauces like marinara, garlic aioli, or ranch.
Garnish with extra parsley if desired.
Troubleshooting and FAQs
How can I keep the cheese from leaking out?
Layer cheese inside the edges and press the wrap seam firmly when toasting.
Can I make these wraps in a panini press?
Yes, they turn out beautifully pressed and evenly crisped.
What’s the best dipping sauce for this wrap?
Marinara, garlic aioli, ranch, or even a spicy mayo pair wonderfully.
Can I use leftover rotisserie chicken?
Absolutely—it’s a great shortcut and adds extra flavor.
Variations: Classic, Spicy, and Veggie Versions
| Version | Protein | Cheese | Add-Ons |
|---|---|---|---|
| Classic | Chicken breast | Mozzarella | Garlic butter, parsley |
| Spicy | Chicken breast | Pepper Jack | Red pepper flakes, hot sauce |
| Veggie | Roasted mushrooms | Cheddar | Spinach, caramelized onions |
Storage and Reheating Tips
- Storage: Keep assembled wraps in the fridge for up to 24 hours before toasting. Cooked wraps can be stored for up to 2 days.
- Reheating: Reheat in a skillet or oven to maintain crispness. Microwave is not recommended as it softens the tortilla.
- Freezing: Not recommended. The tortilla and cheese may lose texture upon thawing.
Final Thoughts
Cheesy Garlic Chicken Wraps are the perfect combination of comfort, flavor, and ease. They’re warm, melty, and packed with garlic butter goodness, making them a guaranteed hit for lunch, dinner, or a satisfying snack.
Whether you keep them classic, add some spice, or toss in your favorite veggies, these wraps are endlessly customizable and quick enough to make on the busiest days. I hope this guide helps you craft your perfect Cheesy Garlic Chicken Wrap—don’t hesitate to get creative and make it your own!